Basic integration
- Print
Basic integration
- Print
Article summary
Did you find this summary helpful?
Thank you for your feedback!
This page guides you through the process of installing the Shoplive Plugin, which provides the following features.
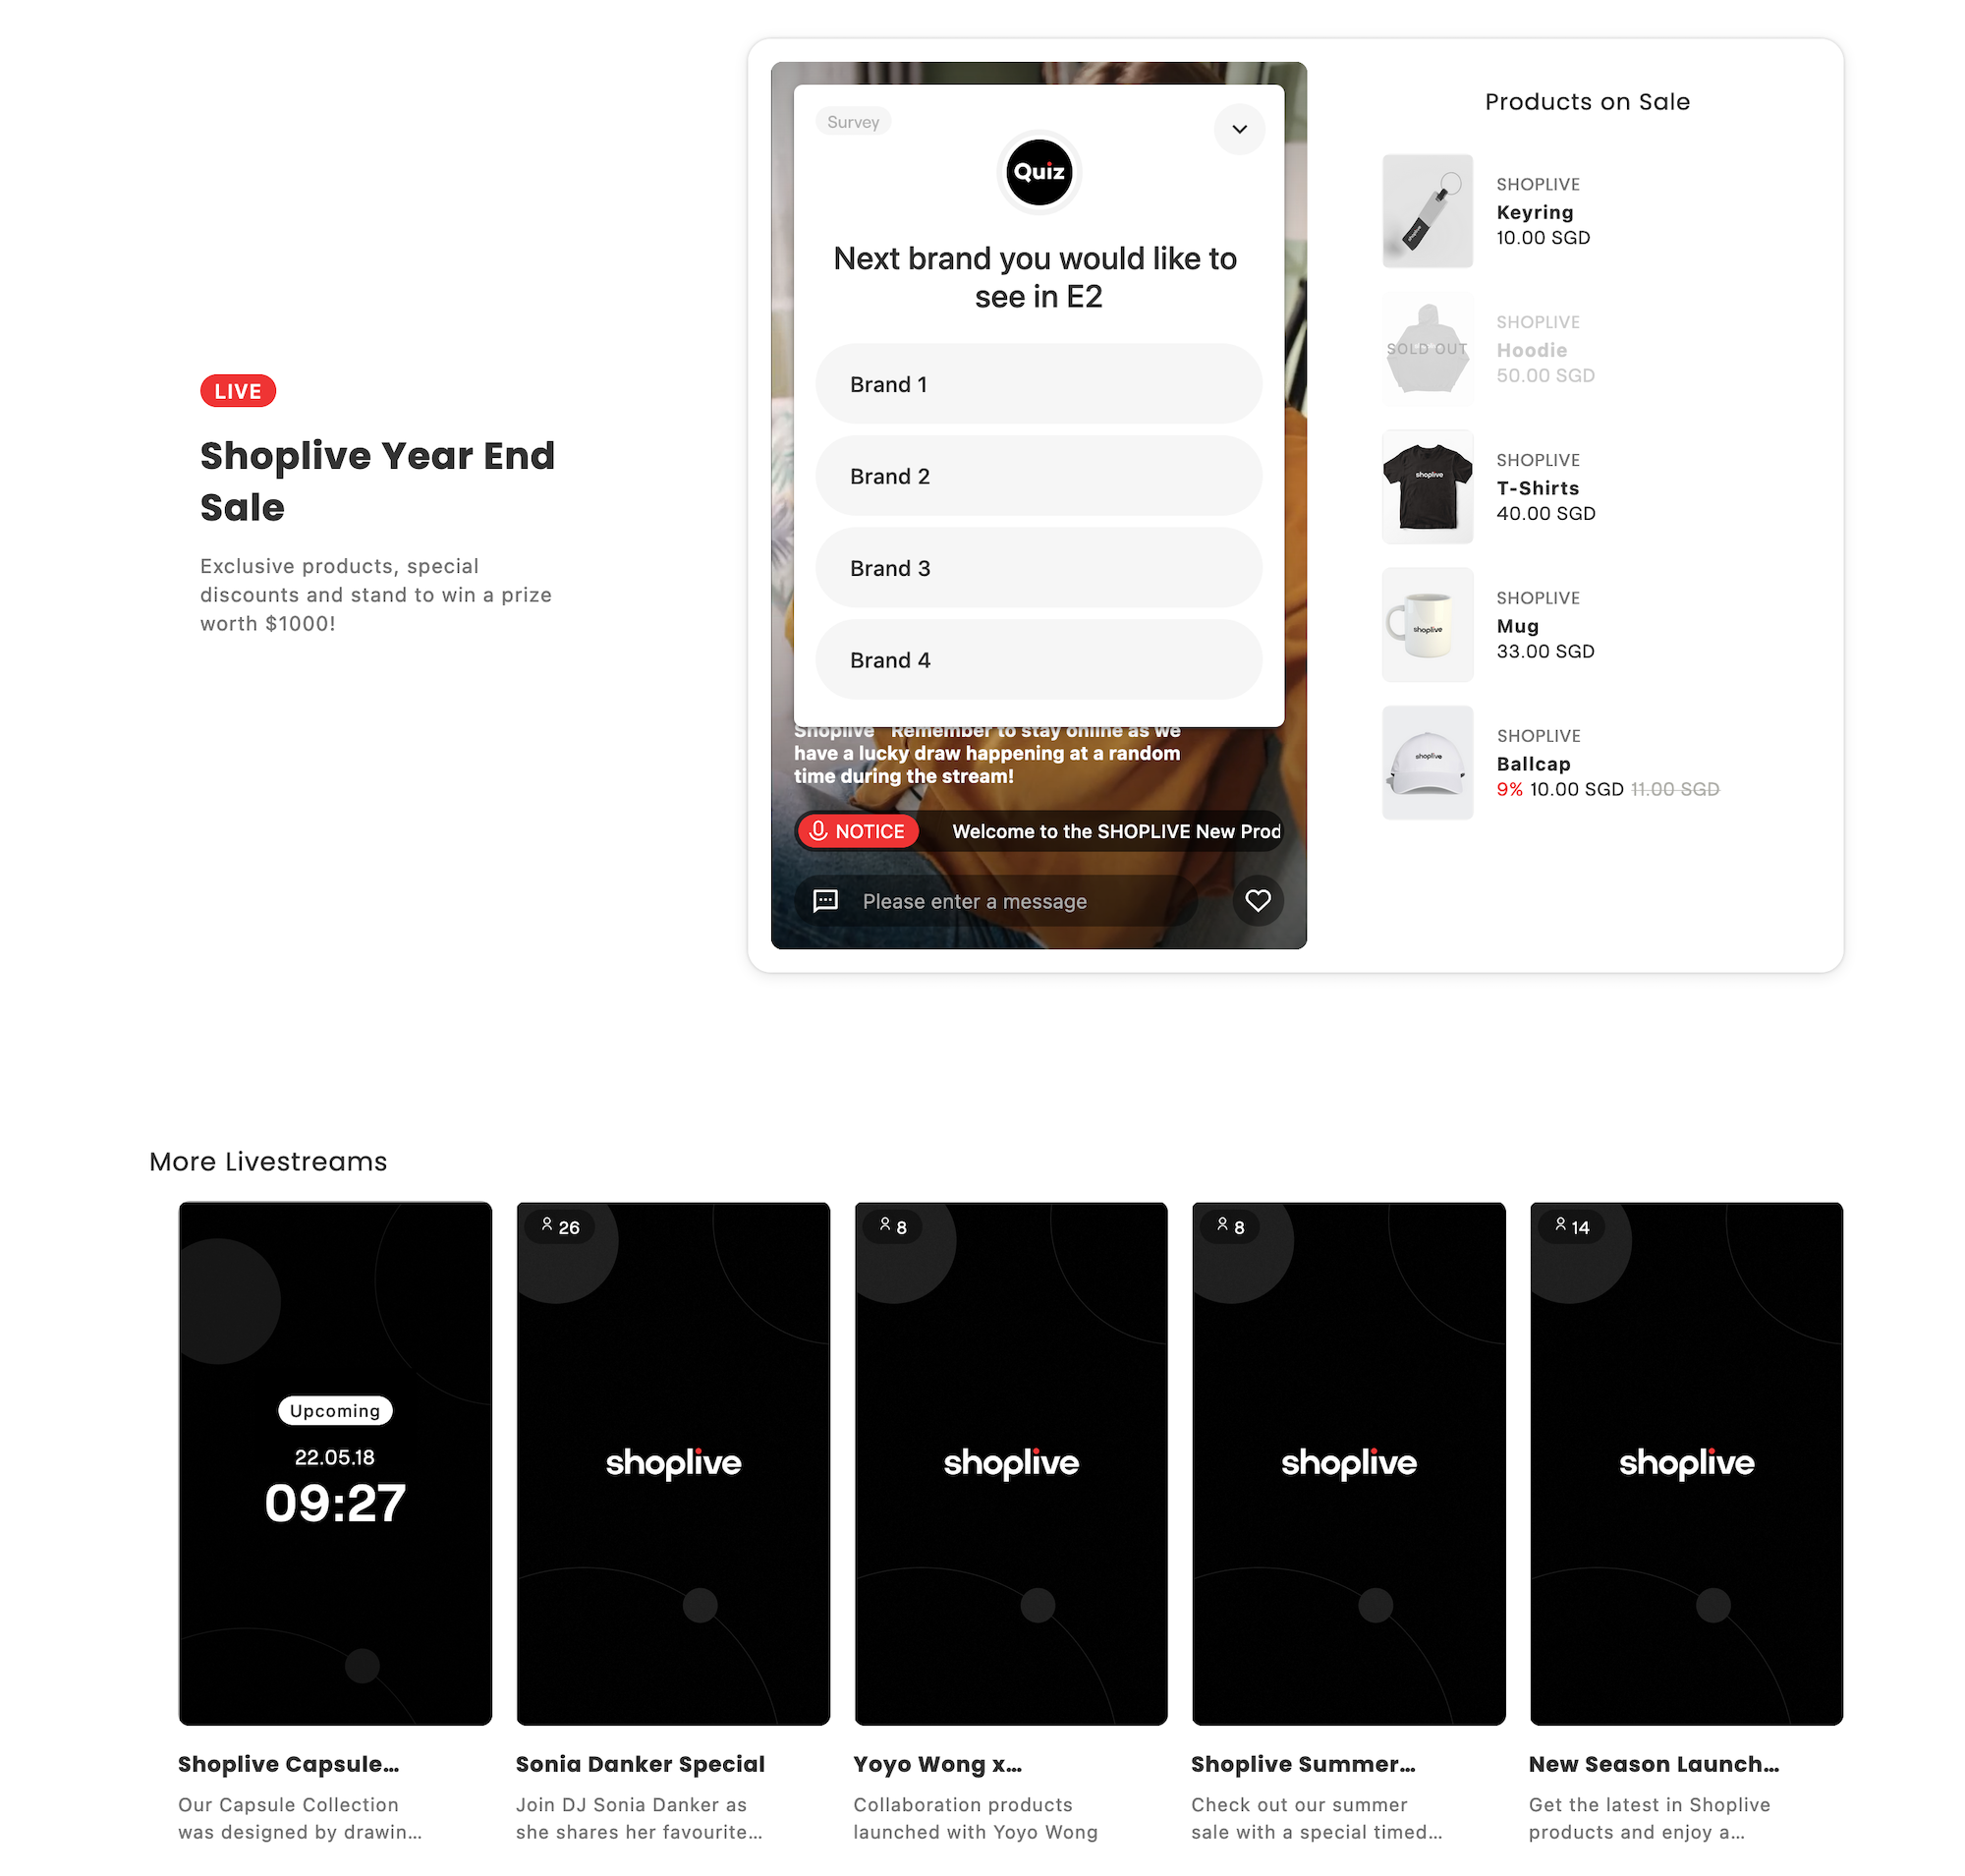
Shoplive Plugin shows scheduled, ongoing, and past livestreams on the integrated pages. (Enabling the 'API Plugin' option is required in the campaign settings.)
If there is an ongoing livestreams, the Shoplive Plugin shows a preview of the ongoing broadcast in the lower right corner of all other web pages.
Plugin initialization
To use the user authentication feature with initialization, refer to the User Authentication.
If you need to define
messageCallbackfor coupon function integration in addition to initialization, refer to the messageCallback.
Here are examples of initializing the Shoplive Plugin without user authentication, with simple authentication, and with JWT token authentication
Install the desired auth type of initialization code in a common layout (head area, etc.)
It must be initialized in a common layout
The following code must be inserted into all pages to enable the Live Mini Preview feature, which shows live broadcasts in a preview format.
<script type="text/javascript" src="https://static.shoplive.cloud/shoplive.js"></script>
<script>cloud.shoplive.init({ accessKey: 'YOUR ACCESS KEY HERE' });</script>

<!-- OR -->

//Simple auth
<script type="text/javascript" src="https://static.shoplive.cloud/shoplive.js"></script>
<script>
  cloud.shoplive.init({ accessKey: 'YOUR ACCESS KEY HERE' });
  cloud.shoplive.setUserObject({userId: "USER_ID", userName: "USER_NAME"});
</script>

<!-- OR -->

//JWT auth
<script type="text/javascript" src="https://static.shoplive.cloud/shoplive.js"></script>
<script>
  cloud.shoplive.init({ accessKey: 'YOUR ACCESS KEY HERE' });
  cloud.shoplive.setUserJWT("USER_JWT");
</script>
Installation on the player and list
The following code can be used to install the Shoplive Plugin Overall on a web page
<div id="shoplive-overall-area"></div>
<script defer>cloud.shoplive.setOverall('shoplive-overall-area');</script>
Sample code
<html>
  <head>
    <title>Shoplive - Simple Shoplive Plugin example</title>
    <meta name="viewport" content="width=device-width, initial-scale=1.0, maximum-scale=1.0, viewport-fit=cover, shrink-to-fit=no" />
    <script type="text/javascript" src="https://static.shoplive.cloud/shoplive.js"></script>
		<script>cloud.shoplive.init({ accessKey: 'YOUR ACCESS KEY HERE' });</script>

    <style>
      html,
      body {
        margin: 0;
        padding: 0;
        background-color: #333;
      }
      #shoplive-player {
        max-width: calc(100vh / 16 * 9 - 2px);
        margin: auto;
      }
      @media screen and (max-width: 480px) {
        #shoplive-player {
          max-width: 100%;
        }
      }
    </style>
  </head>
  <body>
    <div id="shoplive-overall-area"></div>
		<script defer>cloud.shoplive.setOverall('shoplive-overall-area');</script>
  </body>
</html>