Quick Start Guide
- Print
Quick Start Guide
- Print
Article summary
Did you find this summary helpful?
Thank you for your feedback!
Live Streaming Workflow
1️⃣ Issue a Shoplive admin account
2️⃣ Install the live page
3️⃣ Create a live stream
4️⃣ Add products and pop-ups
5️⃣ Publish the live stream
6️⃣ Run a rehearsal
7️⃣ Go live (main broadcast)
Get a ShopLive admin account
Please ask the Shoplive representative for an administrator account. (Email, name)
Once you have registered, you will receive a link to set a password in the email you forwarded.
📌 You can check out the guide below for more details.
Install a live page
Create a page on your mall where you can watch the live broadcast.

📌 You can check out the guide below for more details.
🔗 Live Collection Plugin Install
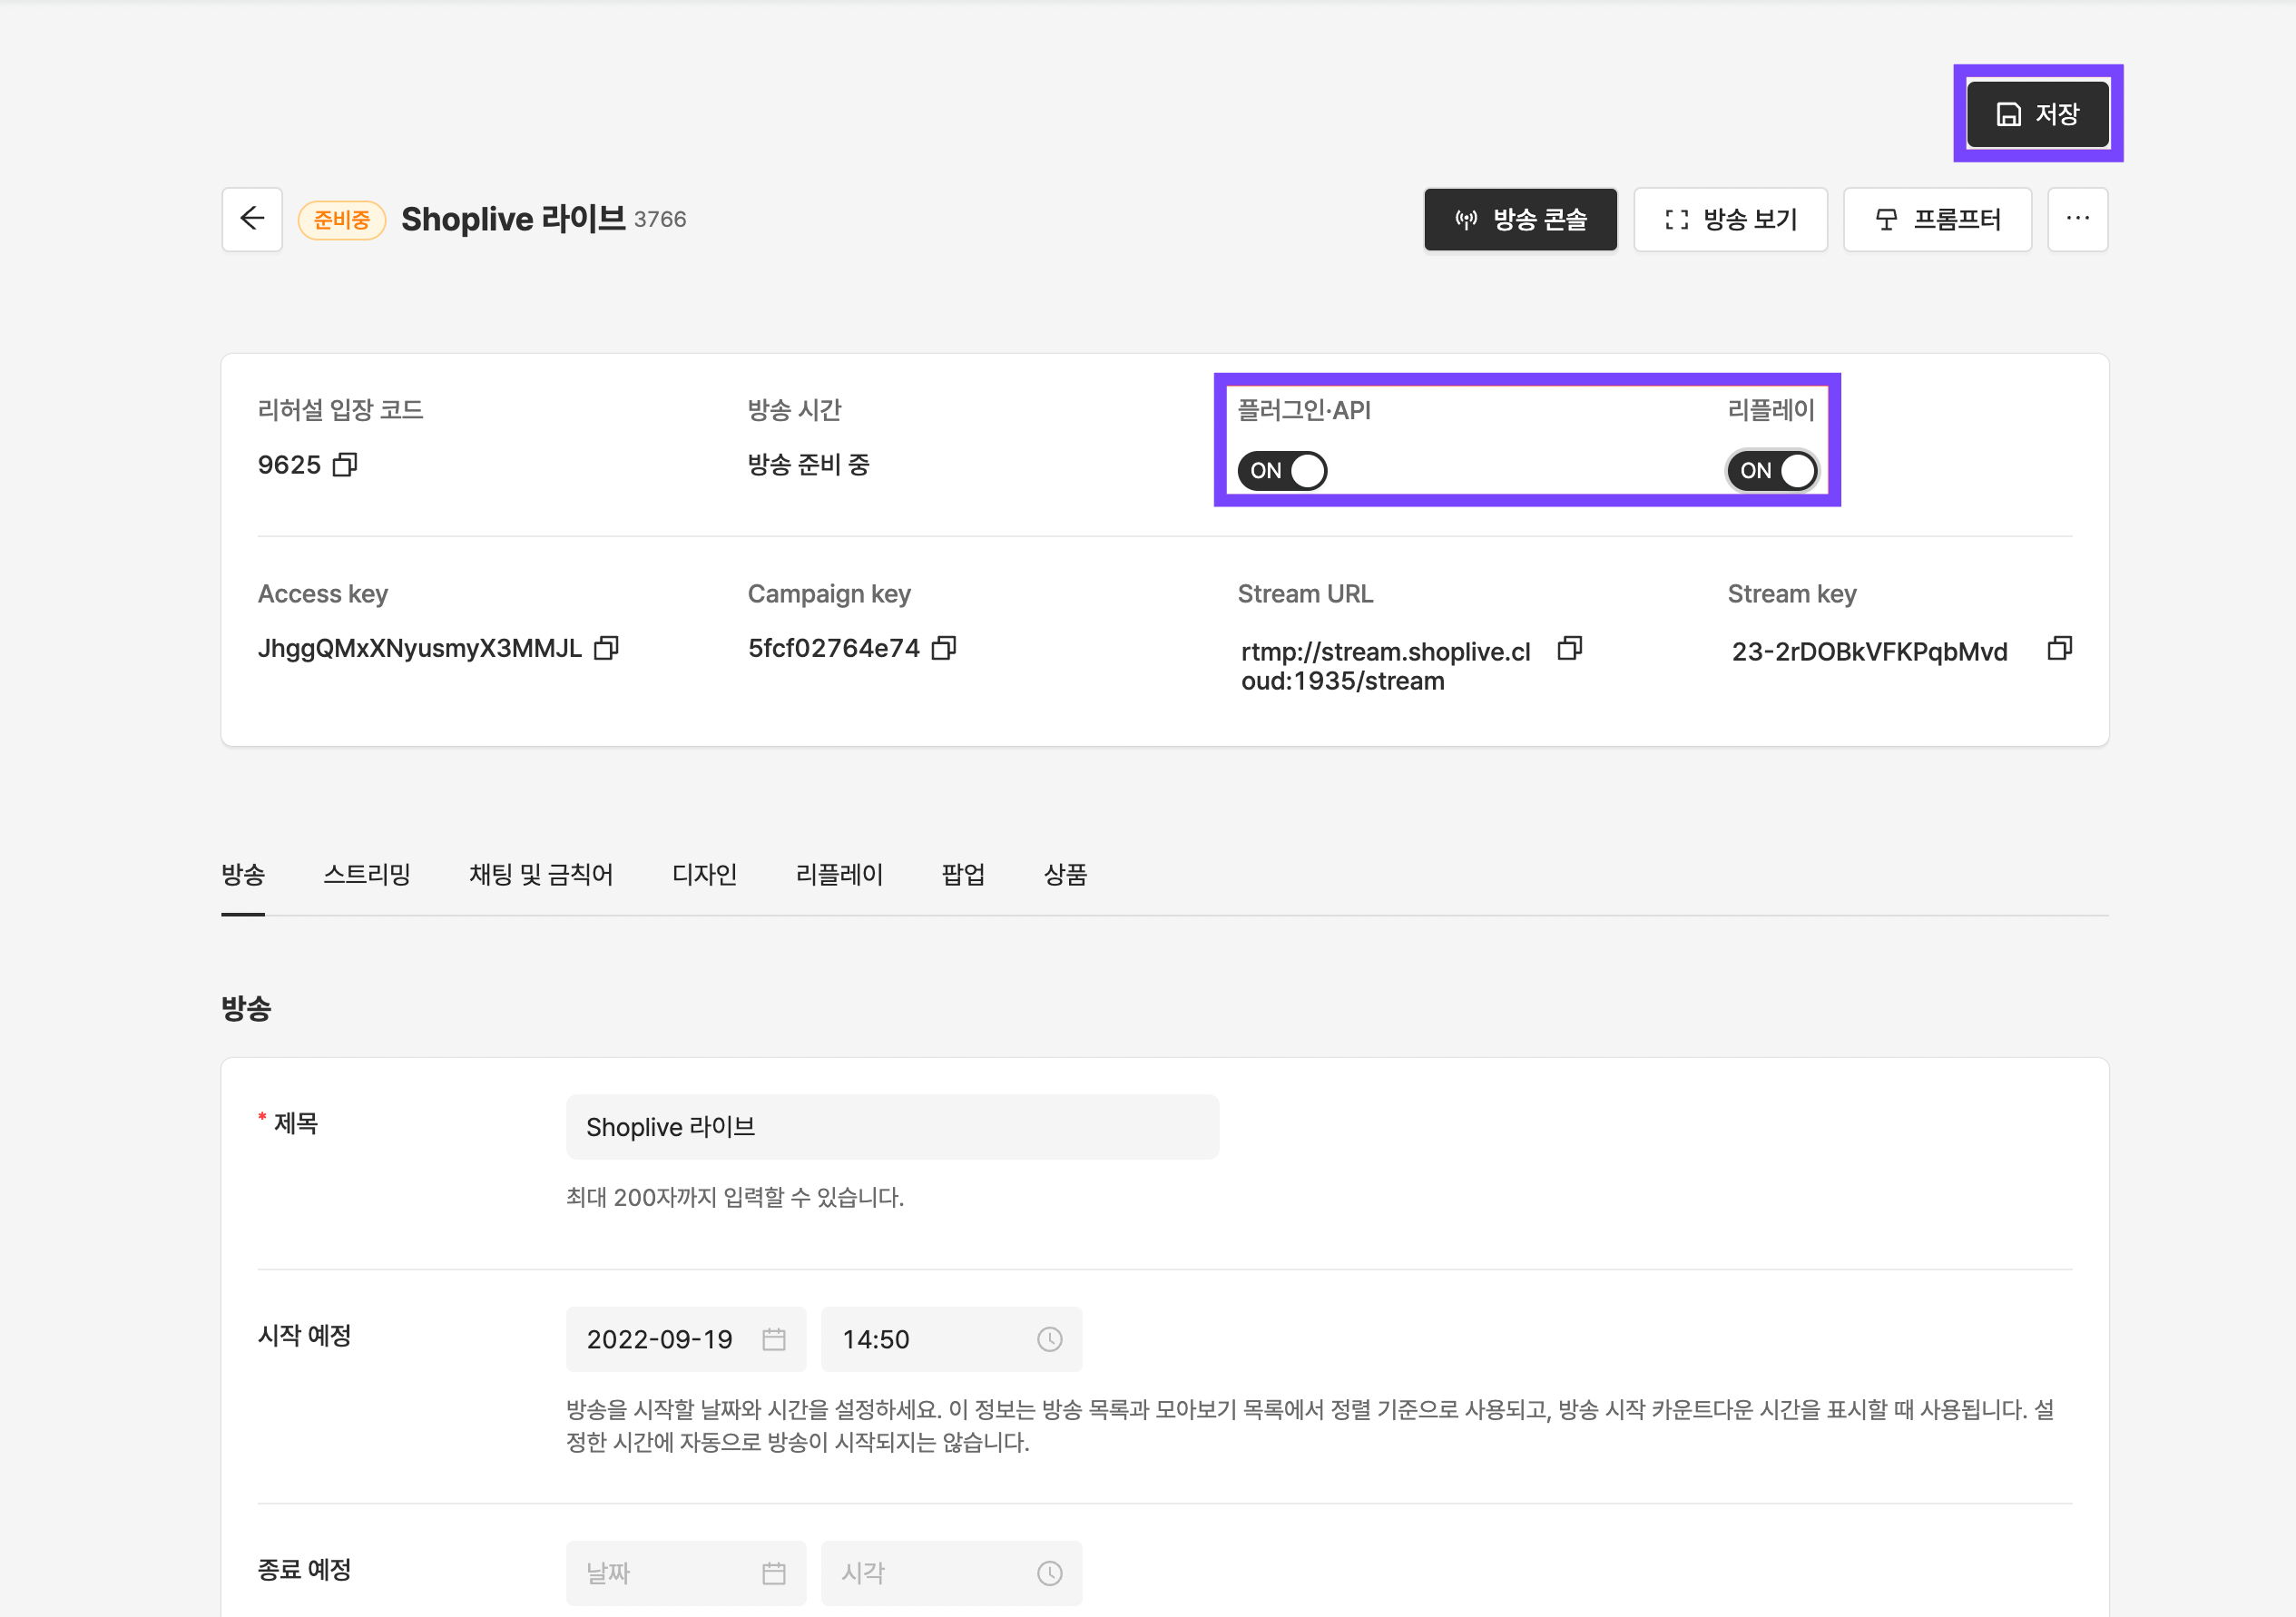
Create a broadcast
Click the "Add broadcast" button to create a new broadcast.
Please enter the basic information of the broadcast (title, description, broadcast schedule, broadcast-related images, etc.) and save it.
Each element is exposed to the live exhibition page and the player.

< Left - ShopLive Admin / Right - Live Page>
📌 You can check out the guide below for more details.
Add products
Click the 'Add Product to Campaign' button to register the product.
The first product creation is required, and once the product is created, it can be used again at any time.
Create a product - add a single product
Excel Upload - Add Bulk Products

📌 You can check out the guide below for more details.
Add a popup
Create a popup for your live stream, then add it to your broadcast.

📌 You can check out the guide below for more details.
🔗 Create banners, announcements, and coupon popups
🔗 Create a purchase verification popup
🔗 Add popups to your broadcast
Live exposure
Once you've set up your broadcast, publish your broadcast to your live page.
If you haven't finished installing the live page yet, please refer to the installation guide below to proceed with the installation.
📌 You can check out the guide below for more details.
Rehearsals
Rehearsals can be held at any time in the same environment as the main broadcast, with no limit on the number of rehearsals.
Rehearsal mode is limited so that only admins can see the broadcast, even if it's public.Please check the rehearsal via the rehearsal code (admin mode).
(Console → broadcast management → rehearsal mode → start rehearsal)

📌 You can check out the guide below for more details.
Conducting the main broadcast
Once the rehearsal is complete, we will go live in broadcast mode according to the schedule.
(Console → Broadcast Management → Broadcast Mode → Start Broadcasting)

📌 You can check out the guide below for more details.