- Print
Shopify
- Print
Log in
Log into the Shopify admin account in the following address.
.png)
Edit theme
Select Themes from the Online Store. In your current theme, click Actions, then click Edit code.
.png)
Edit code
When the code editing window opens, click theme.liquid and enter the code below under the tag. Enter the accesskey into 'ACCESS_KEY,' and save.
.png)
Edit page
Click the Pages button to add a live page. Click the Add Page button, enter a title, enter the code below, and save.
.png)
.png)
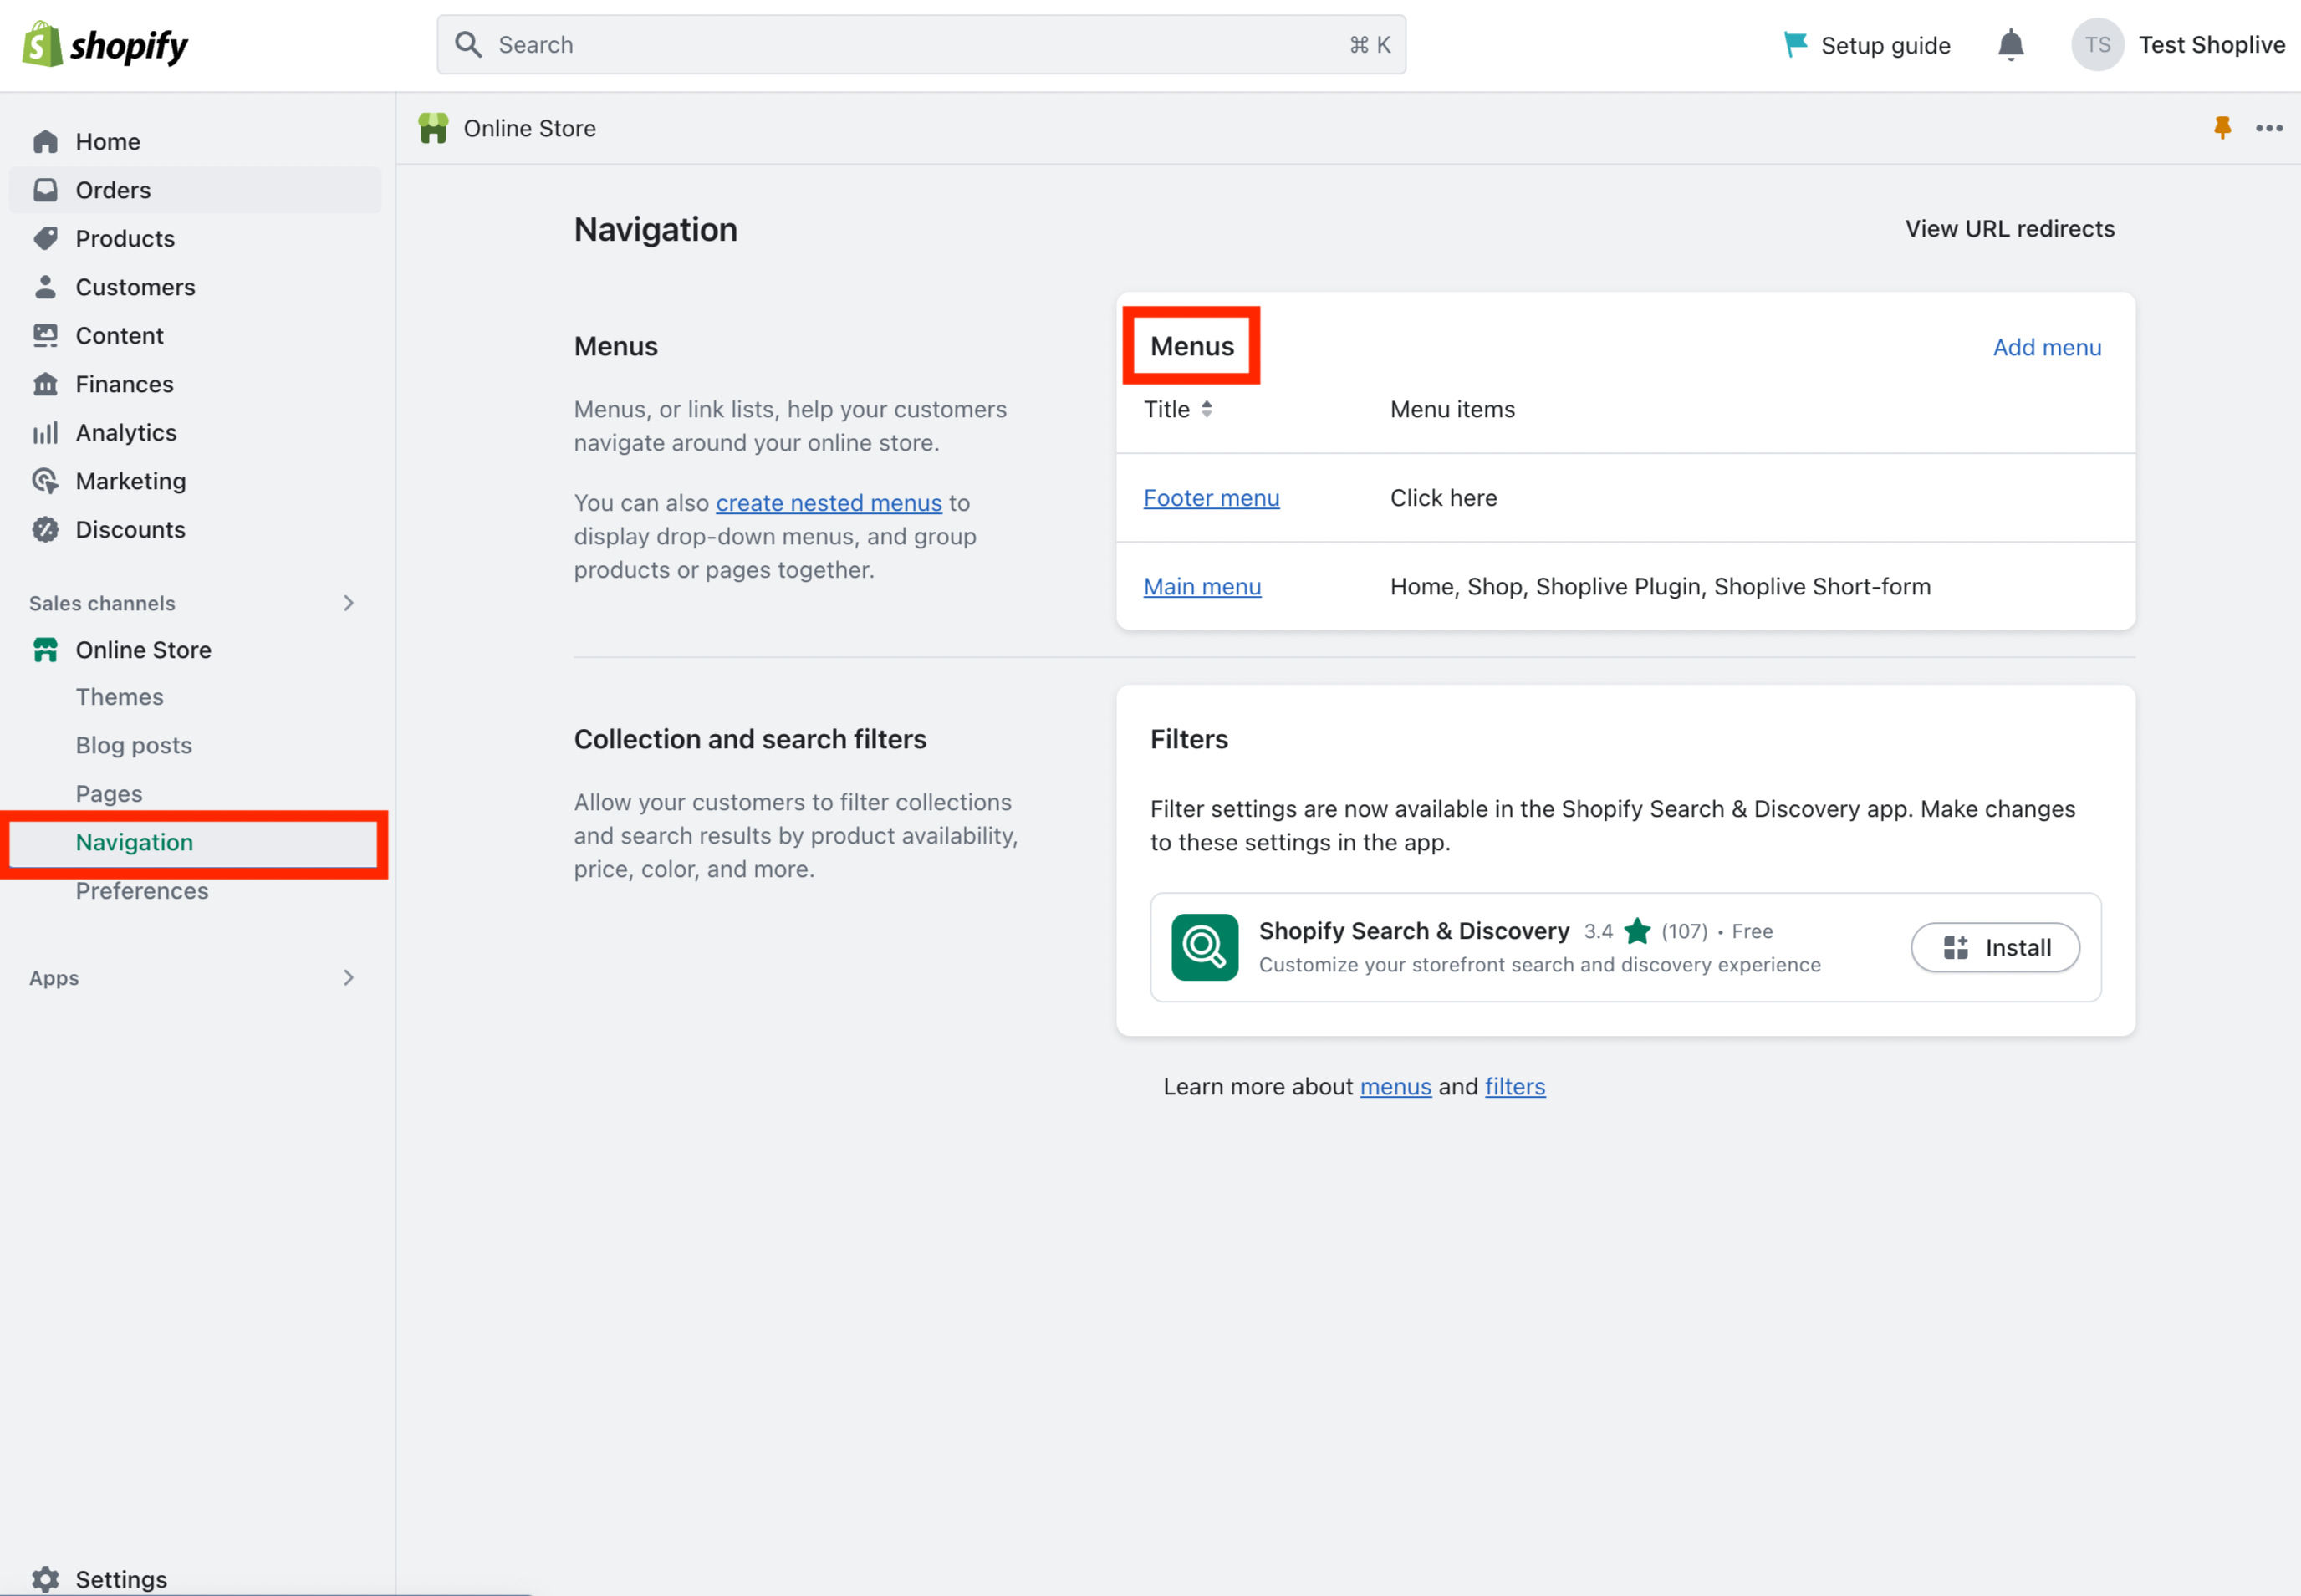
Edit menu
Click Explore to select the menu to expose the live page and edit the category.

Complete setup
When all settings are complete, check whether the mini preview is exposed through the website preview. If the mini preview is not exposed, go to Campaign Details and set the plugin/API of the ongoing live campaign to the public.
.png)
Conversion Pixel
Install a Purchase Signal script on Shopify
1. Click the Settings button at the left bottom.

2. Click the Customer events > Add custom pixel button.

3. Enter the title and then input the following code, and save it.
var script = document.createElement('script');
script.type = 'text/javascript';
script.src = 'https://static.shoplive.cloud/shoplive.js';
script.async = true;
document.head.appendChild(script);

script.onload = function () {
   if (typeof cloud !== 'undefined' && cloud.shoplive) {
       var customerId = null;

       cloud.shoplive.init({
           accessKey: '<YOUR_ACCESS_KEY>'
       });

       analytics.subscribe('checkout_completed', (event) => {
           try {
               console.log("Event received:", event);
               const checkout = event.data.checkout;
               console.log("Checkout data:", checkout);
               const orderId = checkout.order.id;
               console.log("Order ID:", orderId);

               if (customerId == null) {
                    customerId = checkout.order.customer.id
                    console.log("Customer ID:", customerId);
                    if (customerId !== null) {
                        cloud.shoplive.setUserObject({
                            userId: customerId
                        });
                    }
                    else console.log('customer id is null')
                }

               const purchasedItems = checkout.lineItems.map((item) => {
                   console.log("Processing item:", item);
                   return {
                       sku: item.variant.sku,
                       purchaseUnitPrice: parseFloat(item.variant.price.amount),
                       purchaseQuantity: item.quantity
                   };
               }
               );
               console.log("Purchased items:", purchasedItems)
               const conversionConfig = {
                   accessKey: '<YOUR_ACCESS_KEY>',
                   eventType: 'purchase',
                   products: purchasedItems,
                   orderId: orderId
               };
               cloud.shoplive.sendConversionEvent(conversionConfig);
           } catch (error) {
               console.error('send conversion failure:', error);
           }
       }
       );
   } else {
       console.error('cloud.shoplive does not exist');
   }
}
script.onerror = function () {
   console.error('script load failure');
}
4. Click the Connect button.
.png)
.png)
